WORKSHOPS AND LECTURES ARE CURRENTLY UNAVAILABLE
|
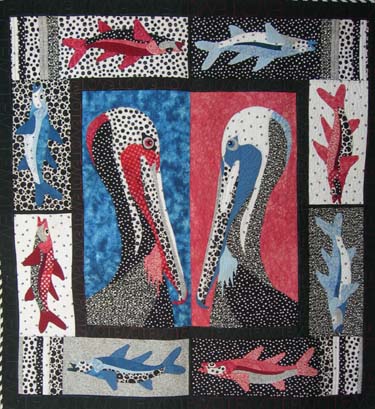
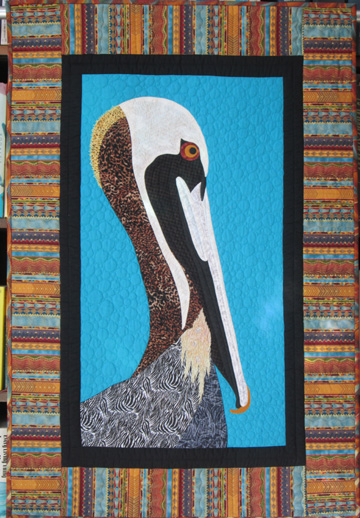
The Full Pelican Quilt
is 24" x 35" |
|
|
_
FULL DAY CLASS: TURNED EDGE MACHINE APPLIQUE
SUPPLIES
Freezer paper, 3 pieces the size of the pattern (available for sale in grocery stores)
Sulky Totally Stable (or any iron on stabilizer) 1-2 pieces the size of the pattern
Smallish, stiff paint brush
Pattern (mine or your own......however, small, intricate patterns are not suitable)
Starch mixed approx. 50/50 or heavy duty spray starch
Pencil
PERMANENT marker (I prefer extra-fine)
pins (I like silk pins)
Tape (I prefer the blue painter's tape)
Iron (hot, heavy, not the little applique "irons")
Ironing surface (a hard surface is better than a soft one)
Paper scissors
Fabric scissors
1 sharp hand needle
Snips or small applique scissors
Seam ripper or stiletto
Fray check (optional)
Thread to match each fabric or invisible thread (I use matching bobbin thread)
Sewing machine (in good working order). I use an invisible hem stitch but a small zig zag will work if
your machine does not have one. Extra bobbins are nice.
If you have a favorite applique needle for your machine, use it (always bring more than one, don't tempt fate) Schmetz universals work well for most people, but the needle is matched to the thread so if you wish to use a heavy thread, bring the appropriate needle, if you are using fine thread a small needle is best.
Fabric: Fat quarters are probably alright for a small pattern, but be sure the fat quarter is big enough to cover the piece you want to use it for. You need long pieces of fabric for some patterns.
You can, of course, pick the natural colors of your design (pink flowers, green or gray fish, etc.) You can also choose any color or combination of colors you want. BE SURE TO HAVE LIGHT, MEDIUM AND DARK fabrics. Value is more important than color in most patterns. Also, be wary of large or busy prints, you will have a great deal of trouble keeping your image clear.
Bring a piece (or more than one) for the background, a little bigger than your pattern. (If your background is dark you may need saral paper or something like it to transfer the pattern to the background but I seldom applique directly on the background)
If you do not have fingernails, you will need a stick, toothpick or something to push the wet edges down when you iron.
For those who do not want to assemble all these materials, kits will be available for purchase. They will include a pattern, freezer paper, stabilizer and fabric. If you want a specific pattern in a kit, please let me know.
HALF DAY CLASS "MAKING YOUR OWN PATTERN"
For class purposes, we will work from a variety of photos I have selected (already blown up to usable size, in black and white, available for sale in class). You may bring your own pictures to class and I will be happy to look at them and give you advice. If you have a photo I think would work for this introductory class, you will be welcome to use it instead of one of mine.
You will also need for class:
Sharpie or other PERMANENT markers (2 colors are nice to have but not essential, better NOT to use black)(I prefer the extra fine Sharpies)
A pencil
Tracing paper, the size of your blow-up (If you prefer to work with fusibles instead of turned edge applique, use parchment paper, which is available in most grocery stores, to trace)
A large light box or light source. Hopefully there will be windows we can use with tape, I prefer blue painter's tape.
Optional:
3 sheets of freezer paper each the size of your blow-up (if your blow-up is larger than the 18" freezer paper you can get at grocery stores, you will need 3 times the amount of freezer paper needed to completely cover your image once, I will show you how to overlap it to make the final template) If you plan to use fusibles instead of turned edge applique, you will need only one sheet of freezer paper the size of your image.
A hot, heavy iron
A fairly hard ironing surface
Bring optional supplies if you want to try to make your templates from your pattern in class.
A small amount of note paper is a good idea for any class.
SKETCHING WITH FUSIBLES HALF DAY CLASS
This class provides a quicker way to create any pattern or a way to tackle patterns that are too complex for the turned edge technique.
You will need for class:
A pattern: Your own or one of mine (available for sale in class)
Parchment paper, enough to cover your pattern (available in grocery stores)
Freezer paper, enough to cover your pattern (available in grocery stores)
Permanent markers, extra fine or fine point, more than one color is nice to have.
Silk pins
Paper scissors and fabric scissors
Fusible, your choice.
Fabric, be sure the fabric pieces are large enough to cover the pattern pieces. Fat quarters do not always work
Iron and firm ironing surface.
Pencil and note paper are useful.
COLLAGE A PET OR A PAL FULL DAY CLASS
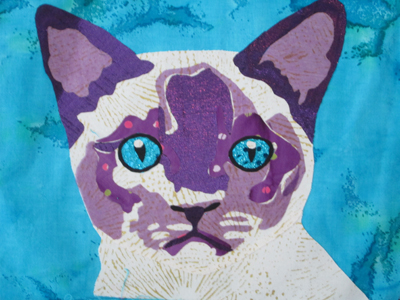
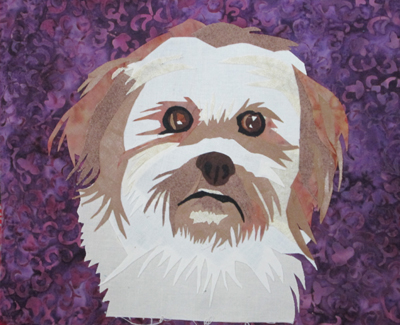
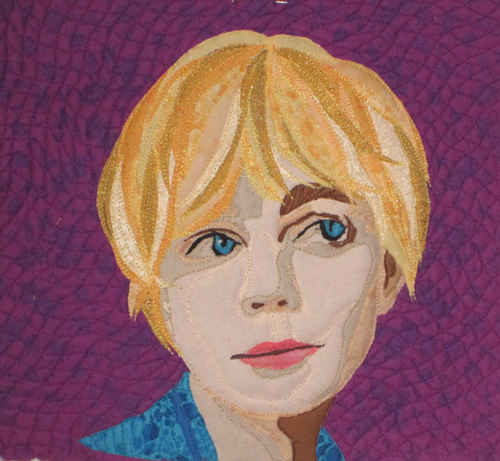
This is a "play" class. No right or wrong, no rules, just play like a kid. Use anything you want to try: fuse, glue, paint stitch, snip, embellish.
SUPPLY LIST:
Photo CROPPED and enlarged to fill a 6" x 6" to 8" x 8" area. Crop out the background and any part of the body you aren't using. Be careful of shadows. Make sure all the features you will be using are clearly visible.
Extra fine Sharpie (or any permanent ink pen): 1 black, one another color (not too light)
Paper scissors, cloth scissors, pins
squares of fabric for background and backing a little larger than your picture
Stuff: anything you might want to use; cottons, other fabrics, sheers, upholstery, scraps, yarn, ribbon, even paper if you want.
Optional: Thread, sewing machine, personal light box, personal iron and ironing surface, scrap of batting.
$5 to instructor for other "stuff" including fusible, fabrics, fused scraps, paint, paintbrushes, Textile medium, glue sticks, batting scraps, parchment paper, freezer paper, tracing paper, anything else I can think of
